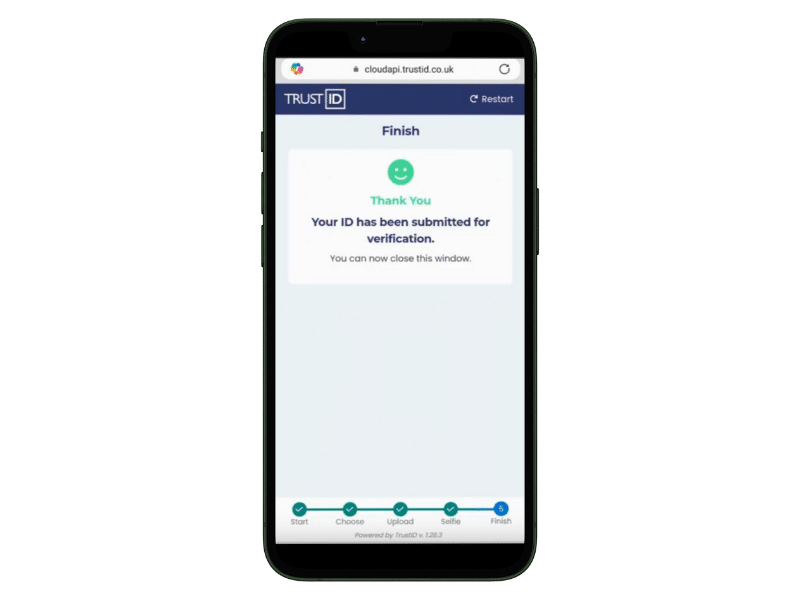
A Digital ID Check is a secure way to confirm someone’s identity online. Instead of posting documents or arranging in-person checks, the process is carried out digitally using trusted verification technology.
For applicants, it means less hassle and faster results. For organisations, it means reliable proof of identity with a clear audit trail. The whole process only takes a few minutes, and all information is encrypted and handled securely.
What You’ll Need Before You Start
Before beginning your Digital ID Check, make sure you have:
- A smartphone or device with a working camera (if using passport)
- A stable internet connection
- Access to your email (to open the verification link)
- One of the following combinations, depending on the route you are taking:
- Biometric Passport
- Passport and UK Driving licence
- An online banking account
Digital ID Check Routes
The route you take to verify your identity depends on whether you’re applying as an individual or on behalf of an organisation. Click the relevant button below to see a step-by-step guide.
If you would prefer to watch a video tutorial, please click here.
OneID – Mobile Banking Confirmation
One of the most popular routes is via OneID’s online banking ID verification. This creates a temporary connection to your bank to confirm your identity.
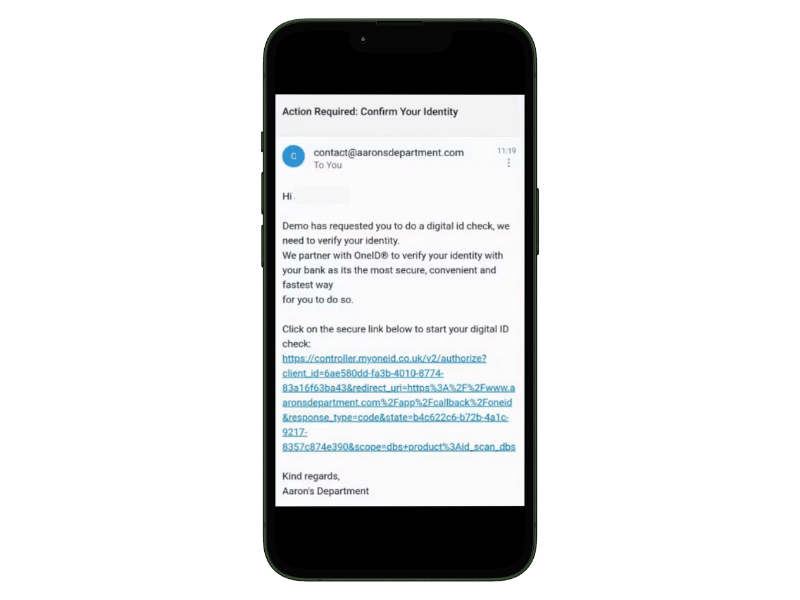
1. Receive the Link
You will get an SMS or email containing a link to start the identity verification process. Click on this link, and it will take you to OneID.
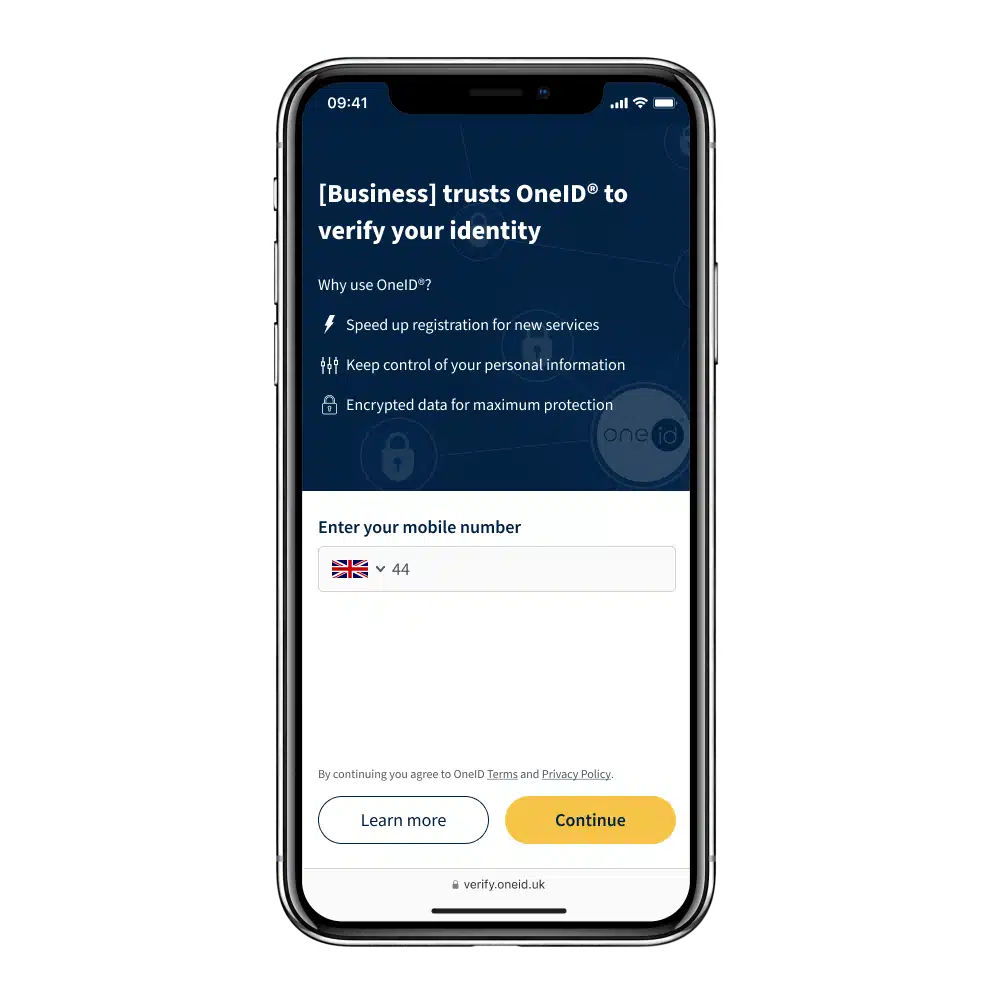
2. If requested, enter and verify your phone number
If you’re asked to enter your mobile number, you’ll receive an SMS with a 6-digit code. Enter this code to continue. In the future, you can use this phone number to re-use your verified details and check all your data sharing transactions history in the OneID® Console.
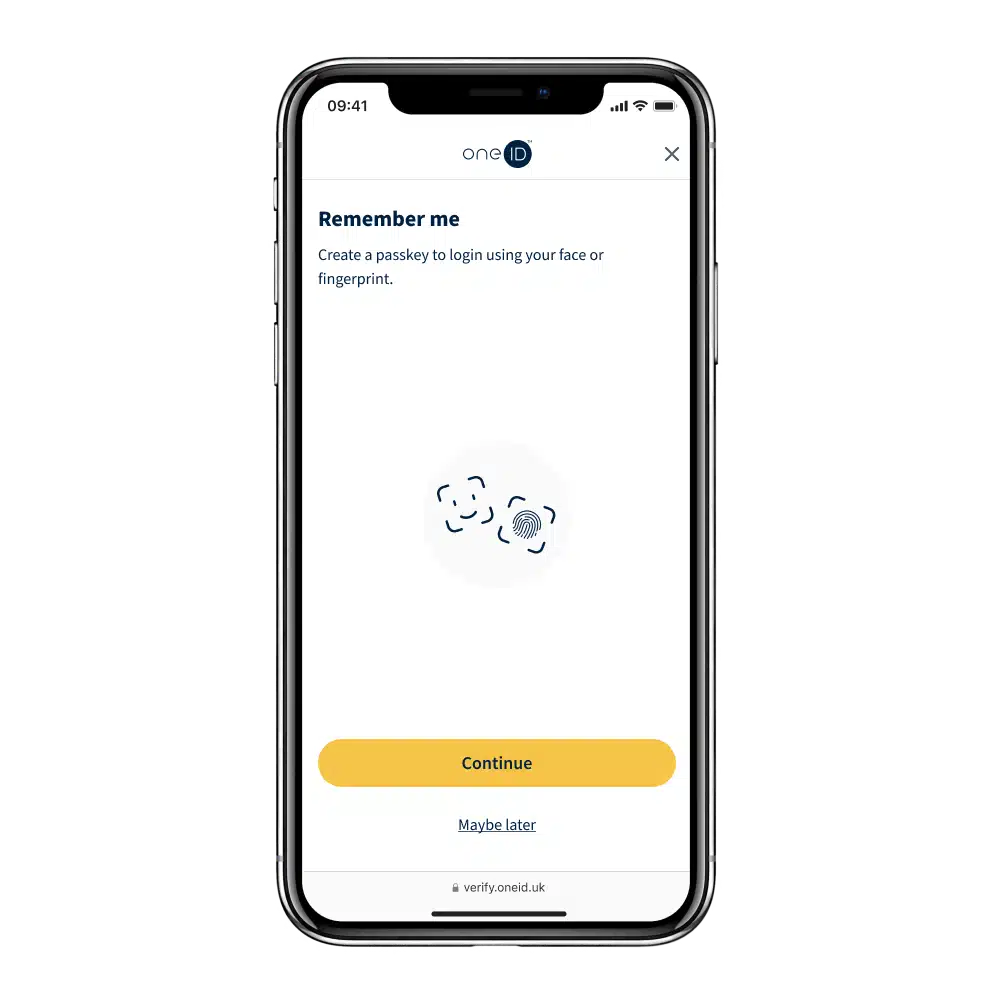
3. Create a passkey for a faster verification next time
If requested, create a passkey so you can access your OneID® account using your face or fingerprint in the future. This means that if you need to verify your identity or age again, you won’t have to go through the verification process once more.
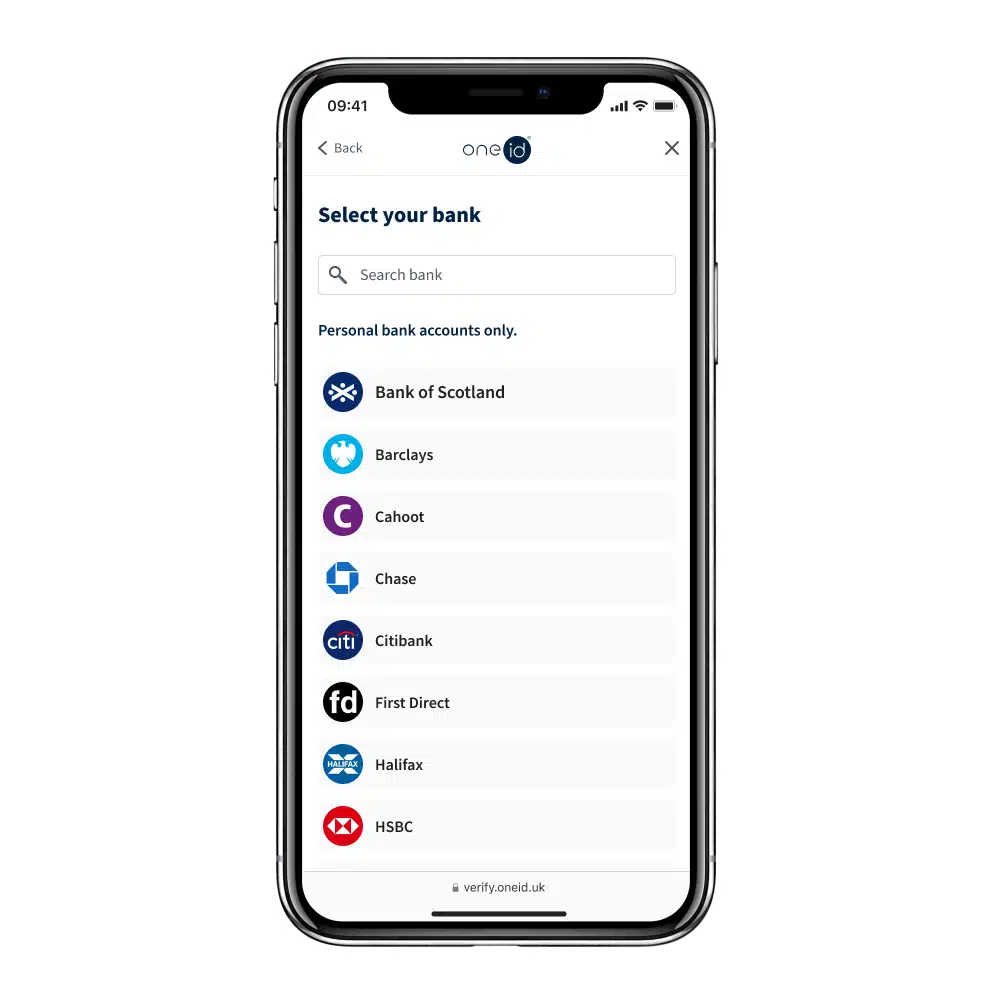
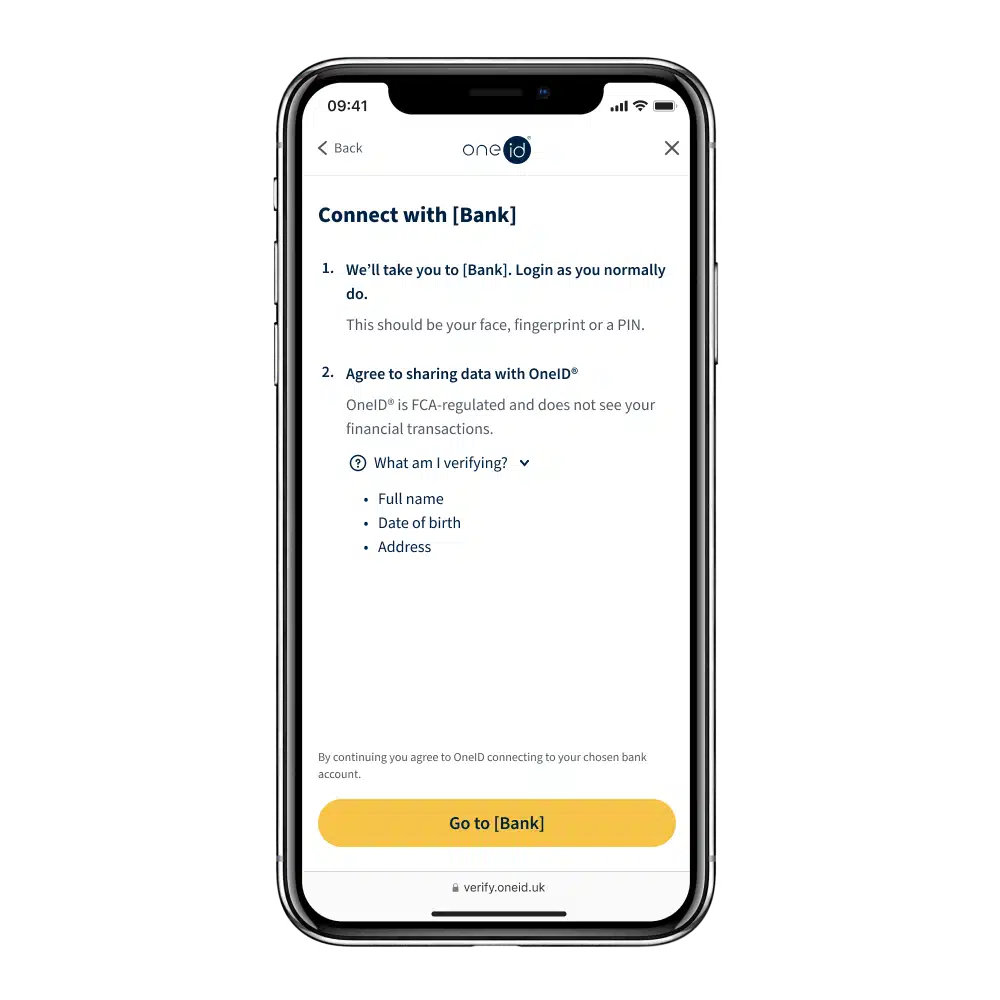
4. Select your bank
Please note that our service is designed to verify your identity. Only personal bank accounts can be used. Joint accounts are not supported for the same reason.
5. We’ll send you to your bank, login as usual
OneID® will ask to connect with your bank to get a confirmation of the information being verified, e.g. your name, address or date of birth. No one but you will have access to your bank account and no payment is taken. OneID®’s sole purpose is to verify identity information.
When your bank app or website opens, login as you normally do.
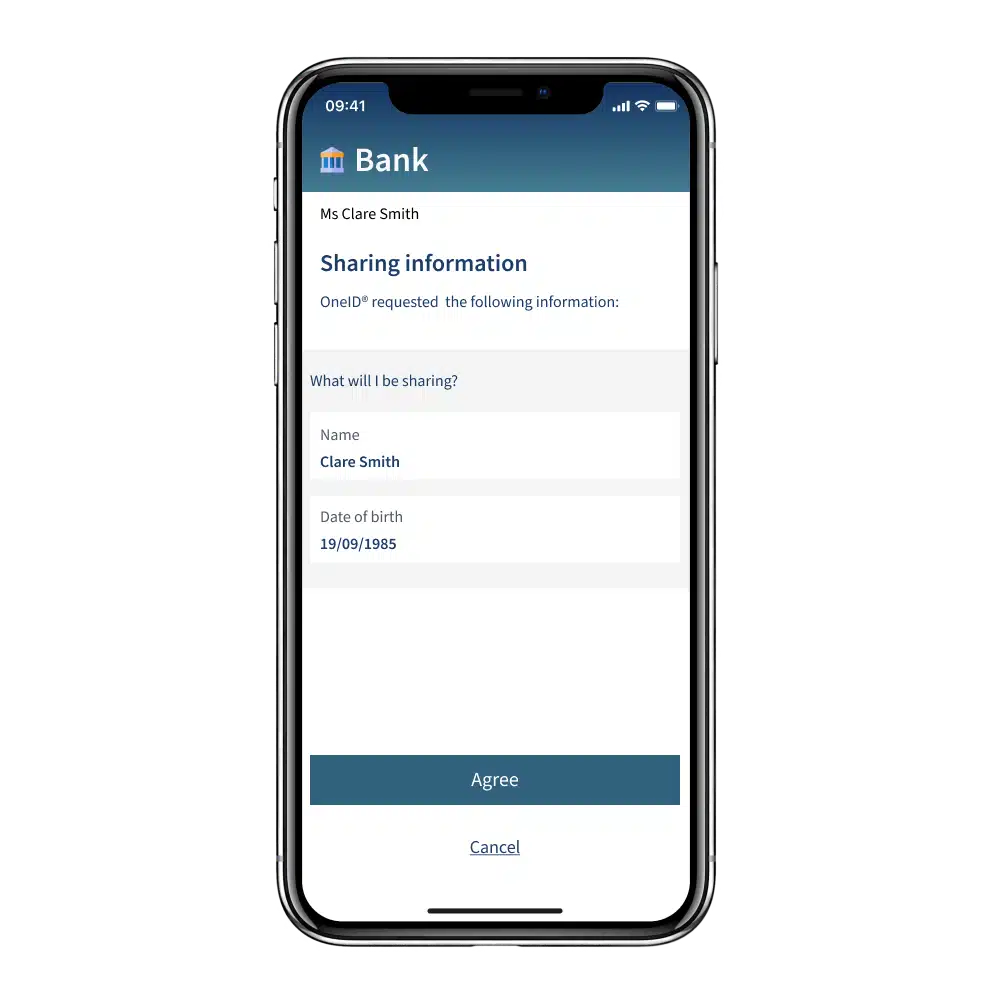
6. Agree to share data
The experience may vary by bank, but typically your bank will ask you to agree to share data with OneID®.
Only the details specified in Step 5 will be shared, no payment will ever be taken and no one will have access to your bank account.
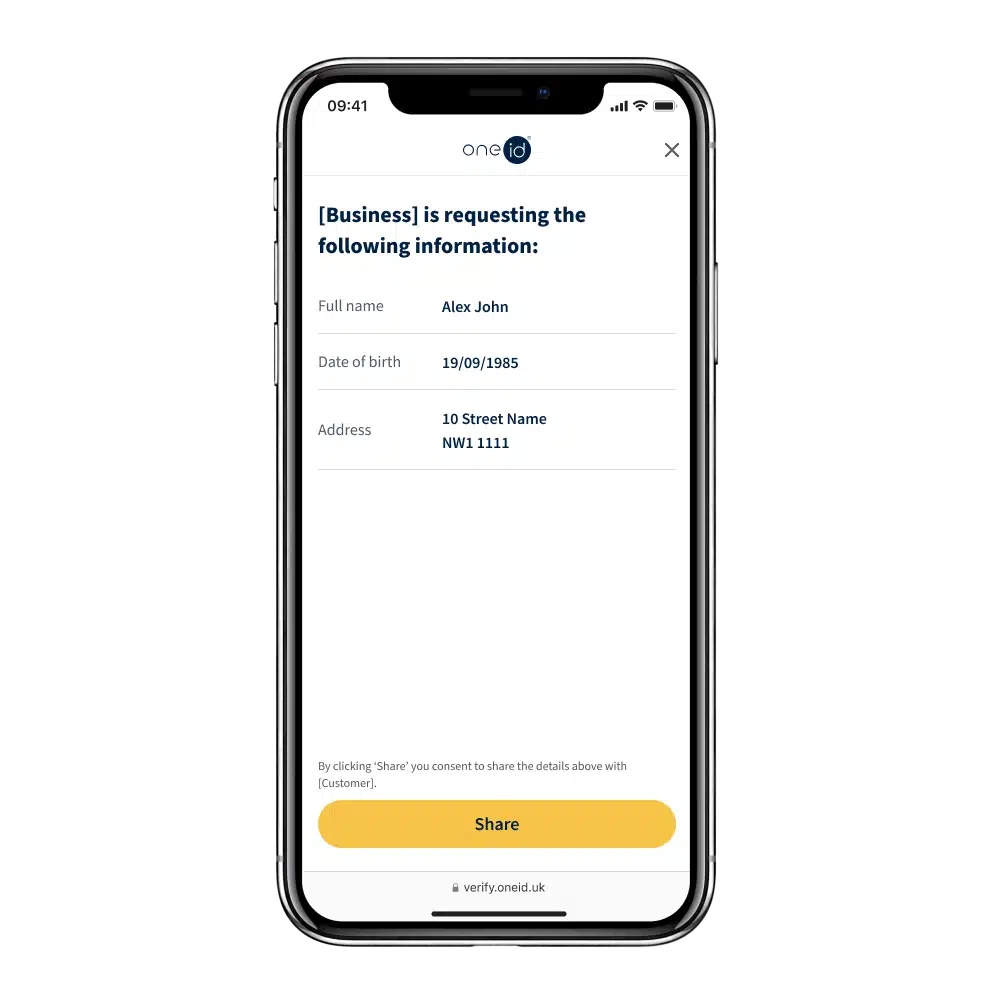
7. Your details are verified
You will be shown exactly what information is going to be shared. If you are happy with this, just press the Share button!
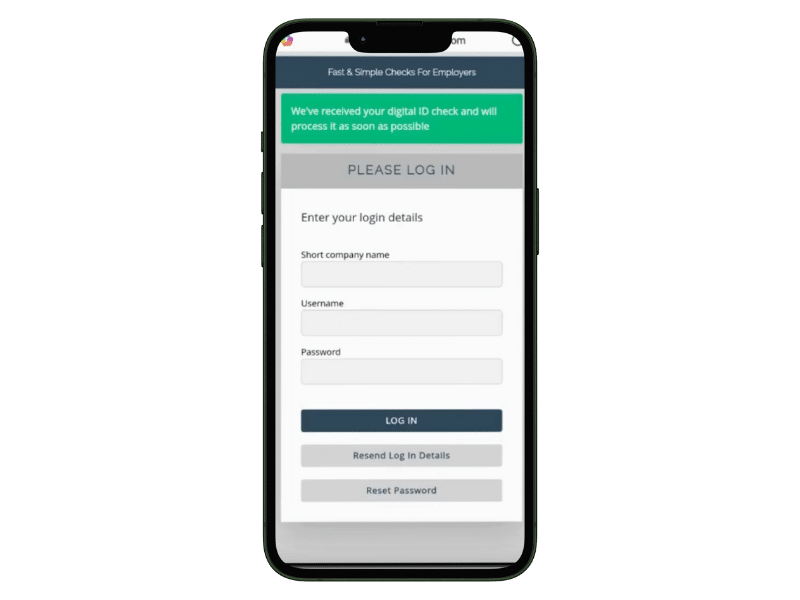
You’re Done!
After doing this, you will be taken to a screen confirming you have completed the process.
OneID – Passport & Driving Licence
This method uses your passport and UK driving licence to verify your identity
1. Receive the Link
You will get an SMS or email containing a link to start the identity verification process. Click on this link, and it will take you to OneID.
2. If requested, enter and verify your phone number
If you’re asked to enter your mobile number, you’ll receive an SMS with a 6-digit code. Enter this code to continue. In the future, you can use this phone number to re-use your verified details and check all your data sharing transactions history in the OneID® Console.
3. Create a passkey for a faster verification next time
If requested, create a passkey so you can access your OneID® account using your face or fingerprint in the future. This means that if you need to verify your identity or age again, you won’t have to go through the verification process once more.
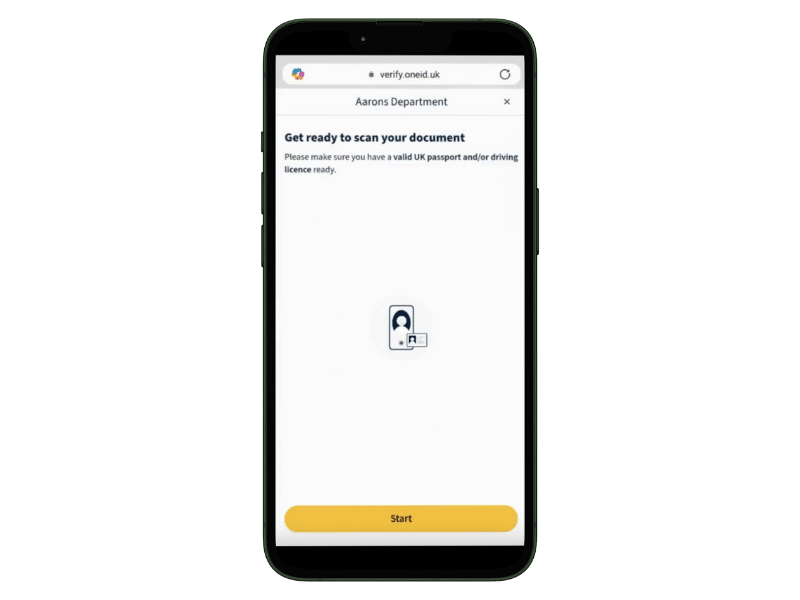
4. Scan your documents
When prompted, scan your official ID using your phone’s camera. Please make sure you pay careful attention to which document it is asking you to take a photo of. Taking a photo of the wrong document will cause the check to fail.
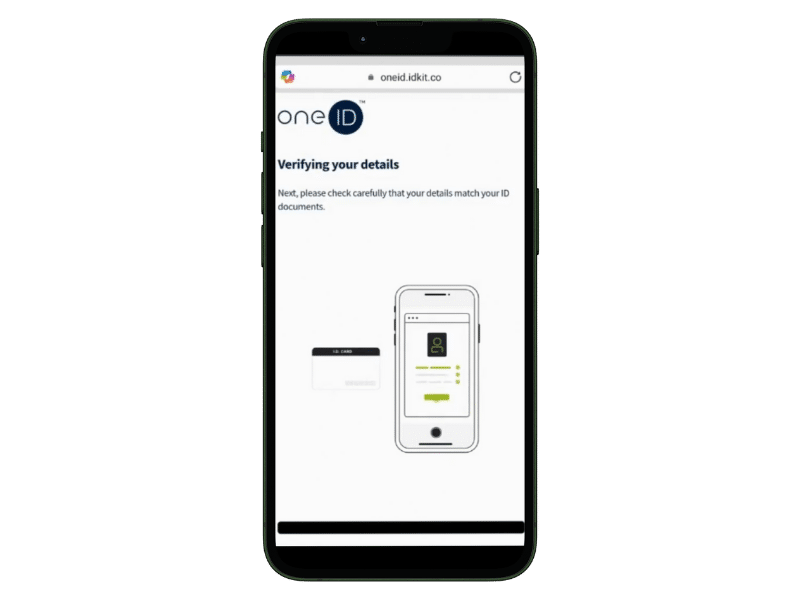
5. Check your details
The information will be taken from your documents. All you need to do is make sure it’s correct.
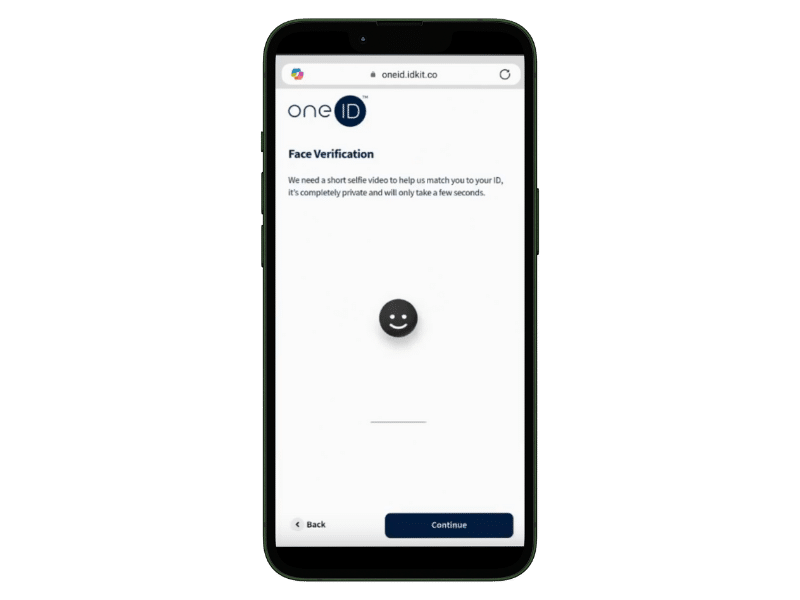
6. Take a selfie
Time to say cheese! You’ll be asked to take a short live selfie to make sure the document belongs to you.
Tips
– Keep your face fully visible, don’t cover any part of it.
– Remove sunglasses, caps, or anything hiding your face.
– Follow the simple instructions shown on your phone.
7. You’re Done!
We’ll compare your selfie with the photo on your ID. If it matches, you’re verified. You will then be taken to a confirmation screen.
Trust ID – Biometric Passport
This method uses your biometric passport to verify your identity
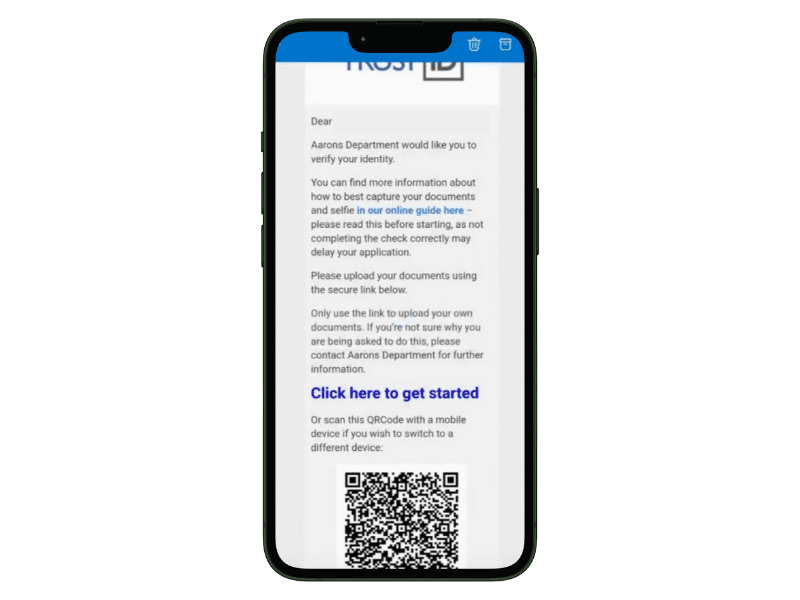
1. Receive the Link
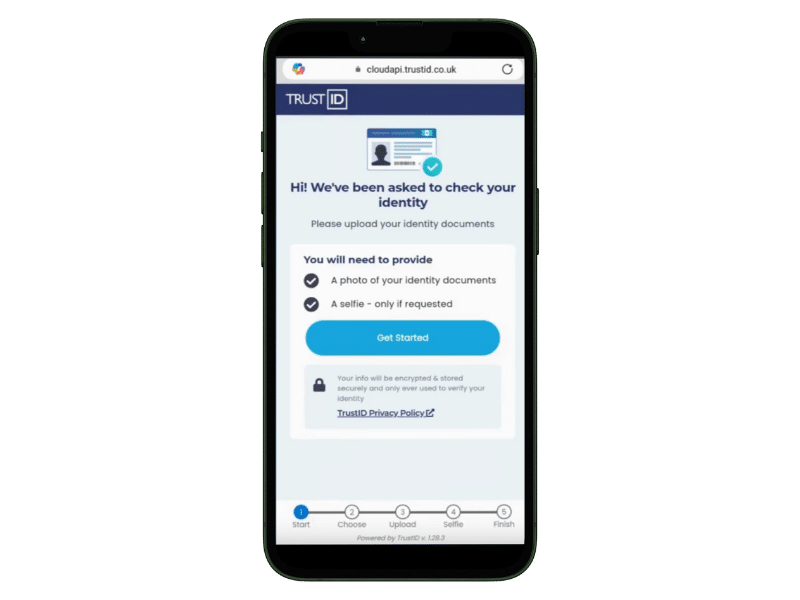
You will get an email containing a link to start the identity verification process. Click on this link, and it will take you to TrustID.
2. Get Started
You will be told the documents you require, and what else you need to do to complete the digital ID check. You will also need to give consent.
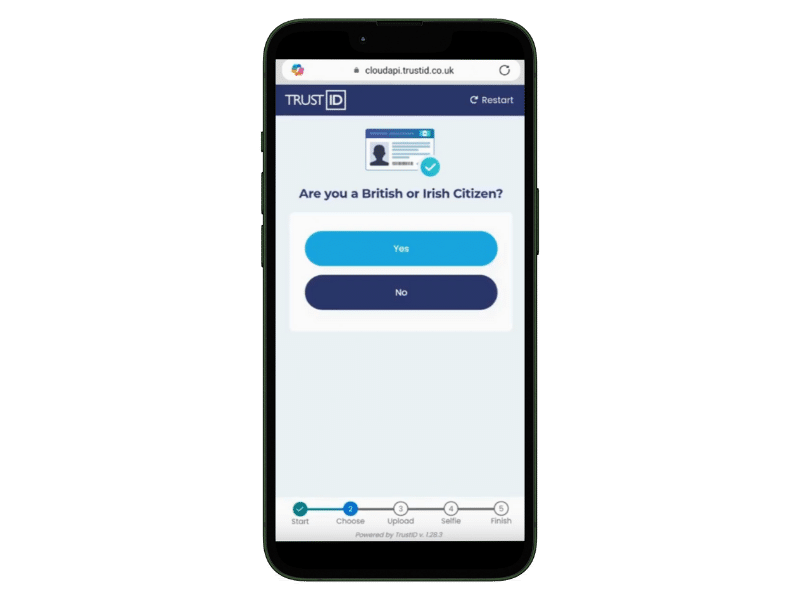
3. Answer a few short questions
You will be asked about your nationality, if you have a biometric passport, and if your passport is in-date. Please answer these carefully, as it will impact whether you can do your ID check.
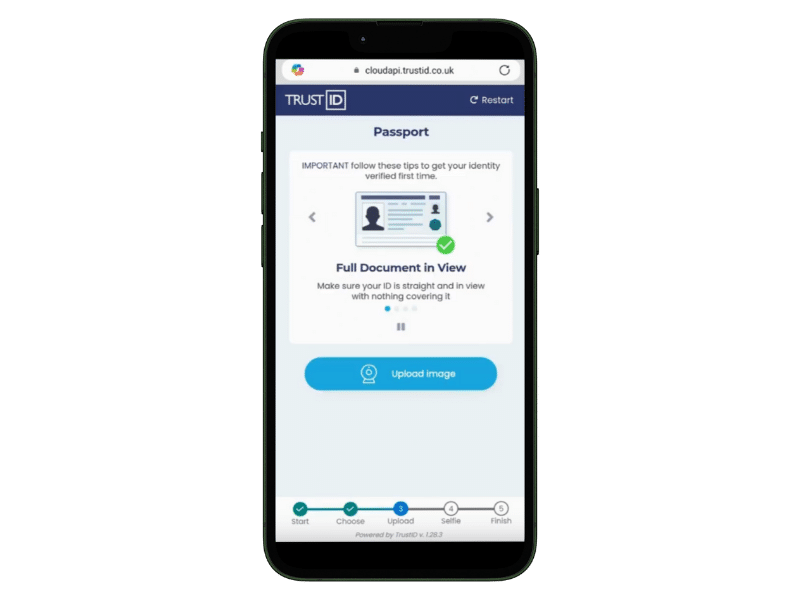
4. Scan your documents
When prompted, scan your official ID using your phone’s camera. Please make sure you pay careful attention to which document it is asking you to take a photo of. Taking a photo of the wrong document will cause the check to fail.
Make sure all the document is visible.
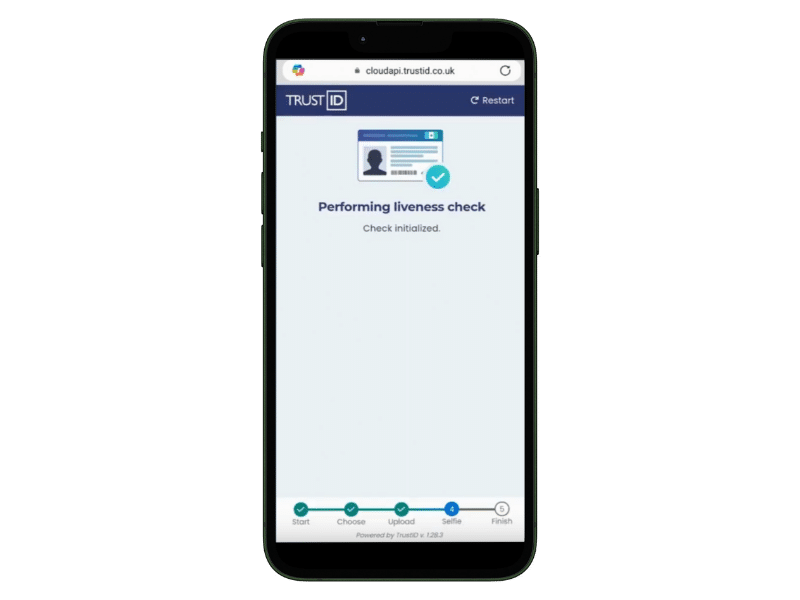
5. Take a Selfie
Time to say cheese! You’ll be asked to take a short live selfie to make sure the document belongs to you.
Tips
– Keep your face fully visible, don’t cover any part of it.
– Remove sunglasses, caps, or anything hiding your face.
– Follow the simple instructions shown on your phone.
– Move a little to prove you’re not a photo.
6. You’re Done!
Once complete, you will be taken to a Thank You page. This means you have now completed your ID check!
